Best Digital Microscope UK: Choose by the Work
Choose a digital microscope for PCB work, coins, repairs or learning by useful detail, working distance, stand, lighting, capture and display workflow.
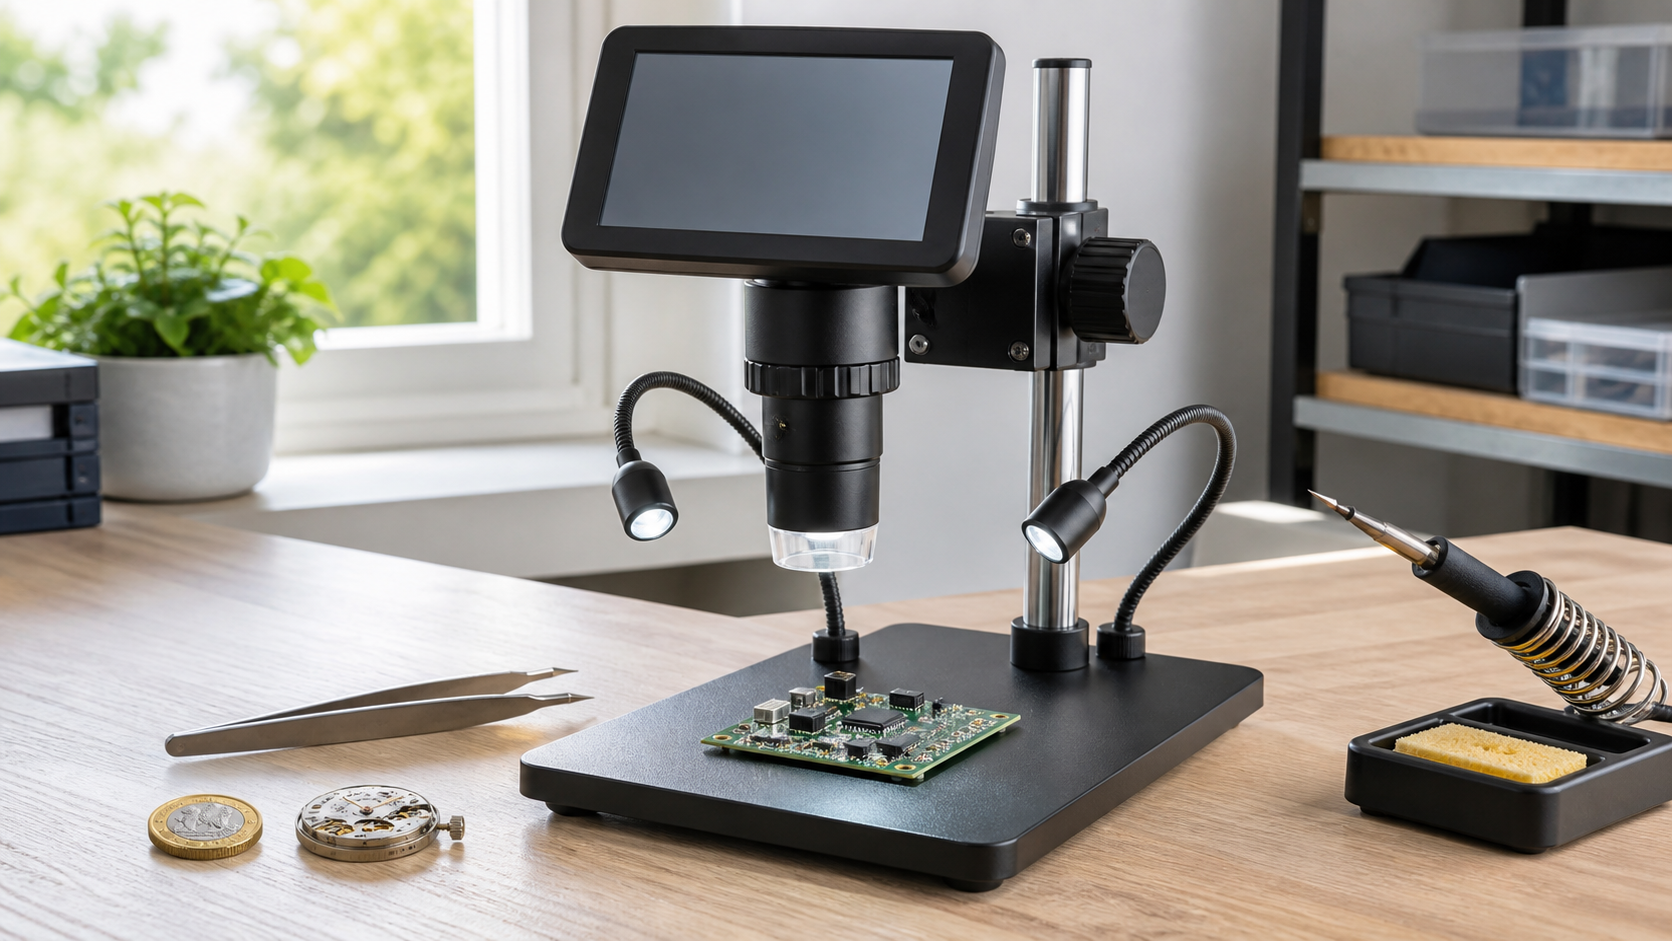
The best digital microscope is not the one with the largest magnification number. It is the one that shows the detail required for your job while leaving enough room to work, keeping the image steady and making it easy to save useful evidence.
A PCB repair bench, a coin desk, a classroom and a small-parts inspection station need different things. Start with the object and the task, then compare optics, working distance, stand, lighting, screen and capture workflow. Treat every advertised figure as something to verify on the exact model rather than a shortcut to image quality.
The short answer
Write down these five requirements before buying:
- the smallest feature you need to distinguish;
- the largest area you need to see at once;
- how much space your hands and tools need below the lens;
- whether you need still images, video or only a live view;
- where the result must appear: a built-in screen, computer, external monitor or saved card.
Then ask the seller for an unedited sample at the intended field of view, the real working-distance range, the native capture dimensions and the return conditions. A model should be shortlisted only if its stand and software fit the job as well as its camera.
Choose by task, not by headline specification
| Main job | Priorities | Common mismatch |
|---|---|---|
| PCB inspection and soldering | Clear working distance, stable stand, low display delay, controllable light | A close-focus camera that leaves no room for an iron or tweezers |
| Coins, stamps and hallmarks | Even adjustable lighting, repeatable framing, useful whole-object view, still capture | Strong ring-light reflections that hide surface texture |
| Watch and small mechanical work | Fine focus control, rigid support, enough tool clearance | A light stand that moves when focus is touched |
| Classroom or shared viewing | Simple controls, broad viewing angle, safe stand, easy image saving | Complicated software or a screen too small for several viewers |
| Documentation and resale | Repeatable colour and framing, original-file export, dateable records | A high pixel count with aggressive sharpening but little extra resolved detail |
If your main task is board repair, use the more focused digital microscope for PCB soldering guide. Coin users can start with the coin-collecting microscope guide.
Magnification is not the same as useful detail
Magnification describes how large the image appears. Resolution describes whether two close features can be distinguished. Digital zoom can make existing pixels larger without revealing new information, and a large display can make a soft image look impressively big.
Nikon’s MicroscopyU explains the principle of useful magnification: once the optical system has delivered the detail it can resolve, more enlargement does not reveal smaller specimen detail. Consumer digital microscope listings rarely provide all the optical data needed for a laboratory calculation, so use a practical comparison instead.
Ask for images of the same ruler, printed pattern, circuit board or coin at the same field of view. Compare the original files at equal display size. Look for separable fine lines, clean lettering edges and real surface texture rather than sharpening halos or blocky compression. If two modes show the same blurred boundary, the larger file has more pixels but has not proved more resolved detail.
A fair 12 MP versus 2 MP comparison should hold the specimen, framing and lighting constant before drawing a conclusion. Do not infer sensor quality from one badge.
Working distance decides whether you can do the job
Working distance is the space between the subject and the front of the lens when the required view is in focus. For soldering, rework and assembly, that space must accommodate hands, tweezers, an iron and sometimes extraction. For coin photography, the more important requirement may be raising the camera enough to frame the whole coin.
Do not accept a single maximum distance without context. Ask for the distance at the field of view you intend to use. Greater clearance often means a wider view and less apparent magnification, so the useful question is: can the microscope show the required feature while leaving the required tool space?
Check the vertical travel of the stand, whether the camera can swing away, and whether the base fits the objects you handle. A large specification is irrelevant if the stand cannot hold the camera at the needed position.
The stand is part of the imaging system
Small movement is magnified along with the subject. A rigid column, a broad base and a focus mechanism that does not push the subject out of frame are therefore core image-quality features.
During a trial or return period, place a detailed object under the lens and test these actions:
- focus at low and high positions;
- tap the desk lightly and watch how quickly the image settles;
- adjust a side light without moving the camera;
- insert the tools used for the real task;
- save an image and confirm that framing has not shifted.
A heavy stand is not automatically stable, and an aluminium description does not prove low vibration. Judge the complete assembly in the intended position.
Lighting should reveal texture, not erase it
Ring lights are convenient, but direct light can create a bright reflection on solder, polished coins, watch plates and glossy components. Adjustable side lights can reveal texture by changing the angle, although more lamps do not guarantee better illumination.
Look for independent brightness control and enough range to move the light off-axis. Test a reflective and a matte object. Reduce intensity before adding more light, because clipped highlights contain no recoverable surface detail. A small diffuser may help, but it must not contact hot tools or obstruct the work area.
Colour shown on a built-in screen should not be treated as calibrated measurement unless the system is designed and verified for that purpose. For ordinary inspection, aim for consistent lighting and save an unedited reference frame.
Built-in screen, USB or HDMI?
A built-in screen creates a self-contained bench and can reduce setup time. Its size and viewing angle matter for posture and shared viewing, but screen resolution does not establish camera resolution.
USB viewing can help with larger displays, file naming and documentation. Before purchase, check the supported operating systems, required application, maximum USB output mode and whether the computer receives a clean live feed or only stored files. The PC and Mac connection guide covers the questions to ask before relying on a computer workflow.
HDMI can suit a monitor-based bench, but confirm the connector, cable, output resolution and whether on-screen menus appear in the feed. For every connection type, ask whether recording resolution differs from live-view resolution.
Check capture claims honestly
Native sensor output, saved-file dimensions and video mode can all differ. An image advertised as 12 MP may be useful, but the number alone does not prove that it resolves six times as much detail as a 2 MP image. Interpolation, compression, optics, focus and lighting all affect the result.
The ASA’s guidance on exaggeration says marketing must not mislead by overstating product capability. Apply the same standard to a buying comparison: attribute specifications to the seller, separate them from observed results and avoid claiming professional or laboratory performance without suitable evidence.
For your shortlist, record:
- native and selectable still-image dimensions;
- video resolutions and frame rates;
- file format and compression;
- storage medium and supported capacity;
- whether original files retain metadata;
- whether digital zoom changes the saved file or only the display.
Save a test image, copy the original file and inspect it away from the microscope. A screenshot of the built-in display is not a substitute.
Evaluate a real product without assuming it is universal
The current Tomlov Lab Pro product page lists a built-in screen, still and video capture, removable storage, ring and side lighting, and a stand intended to provide working room. These are seller-stated specifications for that listing, not independent measurements and not a template for every Tomlov model.
Before ordering, recheck the live page, included accessories, connection requirements, support route and return terms. Ask for confirmation where one feature determines whether your workflow will work. Stock, price and bundles can change.
A ten-minute acceptance test
Use the return period to test the actual unit, not a generic demonstration:
- Inspect one representative object at the widest useful view.
- Move to the smallest detail needed for the task.
- Measure the remaining tool clearance.
- Focus twice and see whether framing returns consistently.
- Change lamp angle on a reflective feature.
- Save a still and a short video in each required mode.
- Copy the originals to the computer or card workflow you will use.
- Check delay while moving a tool under the lens.
- Leave the unit running for a normal session and check stability.
- Confirm that the supplied stand and accessories match the listing.
Do not perform destructive work until the basic inspection and return decision are complete.
Final buying checklist
- Define the smallest detail and largest field of view.
- Verify working distance at that view.
- Test stand stability and focus movement.
- Check lighting on reflective and matte objects.
- Compare original files, not display screenshots.
- Confirm the computer, HDMI or storage workflow.
- Separate seller specifications from independent evidence.
- Read current warranty, returns and support information.
- Ignore magnification or megapixel figures that are not tied to a repeatable result.
The strongest choice is the microscope that completes your real inspection and recording task consistently. A disciplined trial tells you more than the biggest number on the product page.
Frequently asked questions
Is a 12 MP digital microscope always better than a 2 MP model?
No. A higher-resolution file can contain more useful detail, but only if the sensor, optics, focus, lighting and processing preserve it. Compare original files at matched framing and equal display size.
How much magnification do I need for soldering?
Choose by the component detail and working space rather than a maximum figure. The useful setting must show the joint clearly while leaving room for tools and keeping display delay manageable.
Is a built-in screen better than USB?
It depends on the workflow. A built-in screen is convenient at a bench; USB can simplify large-screen viewing and file management. Verify output modes, software and resolution for the exact model.
Can one digital microscope cover coins and PCB repair?
Possibly, if its stand covers both whole-object framing and close inspection, and if the lighting can handle reflective surfaces. Test both tasks because their ideal working distances and illumination differ.